

 >
How To >
Almost everyone in this world loves music, and today the best means to hear quality music is either Spotify, Apple Music, or Amazon Music. All of these platforms allow their users to enjoy music through online streaming.
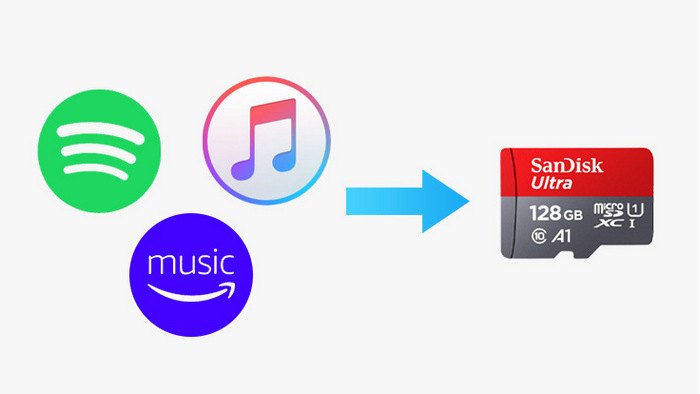
However, those who want to enjoy their favorite genre of music offline can save Spotify/Apple/Amazon Music to an SD card with ease. Ironically, it leads to filling up your phone's internal storage, leading you to delete either some music files or your essential stuff.
We understand your issues, and that's why this article is here to help you enjoy offline music by saving Spotify/Apple Music to SD card. There are many ways to transfer music files to an SD card, but here we have some of the best apps that allow the user to copy Spotify, Apple Music, and Amazon Music to SD card.
Without losing any of your music files, the ideal way to backup Spotify music to your SD is through TuneCable Spotify Music Downloader. It's one of the finest apps that you can have for your devices.
The user-friendly interface makes it easy to use for all users. It has some of the best features that you will love while downloading, converting, and transferring Spotify Music. In-addition, the subscribers also get lifetime technical support with this app.
Along with it, this app provides end-to-end safety, so you need not to worry about any virus breach. Furthermore, the best thing about this app is that it owns the ability to provide lossless converted audios in all formats. If you are facing issues about downloading and transferring Spotify Music, then TuneCable Spotify Music Downloader is the app you need to bet on.
Features:
Step 1: Download and Register the Program
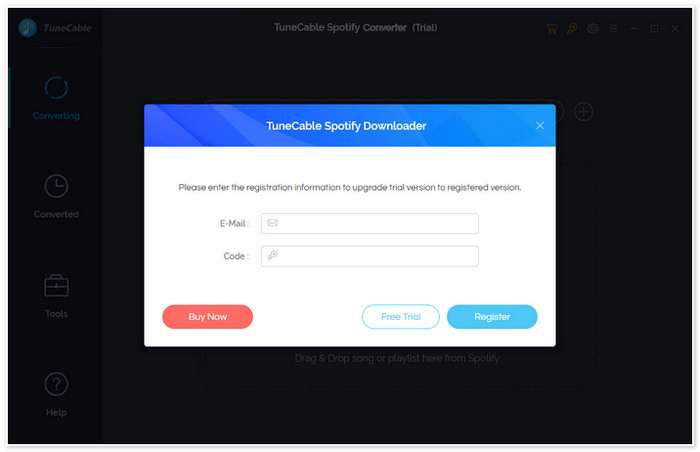
First, you need to install the app on your computer and get registered. For this, you can click the registration icon after downloading the app, and you will have to provide the Email ID and code that you received upon subscribing to the program.
Step 2: Add Spotify Music to Program
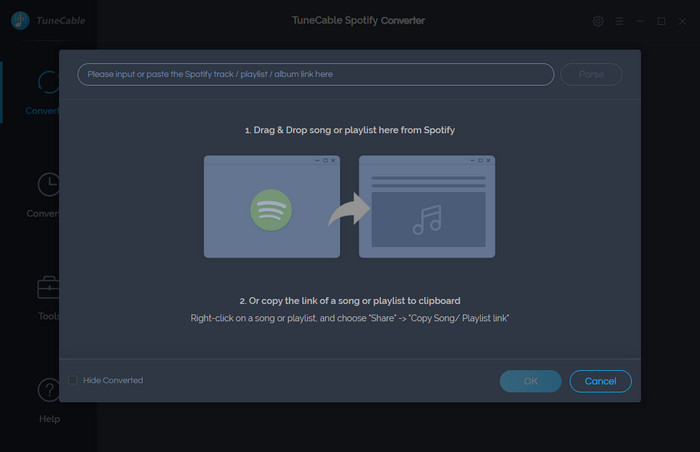
Next, what you need to do is launch the TuneCable Spotify Downloader on your computer. Then, add track and playlist from Spotify to the Spotify Converter. You can easily drag and place the playlist or tracks to the main interface. Also, you can copy-paste your playlists link and click on "Parse".
Step 3: Set Preference
Now, you will have to set your preference for music conversion. This music converter can convert Spotify Music into MP3, AAC, WAV, FLAC, AIFF & ALAC. However, the highest audio quality will be 320kbps. Just click on the "Setting" button and you'll get a pop up window where you can set the output options of your choice.

Step 4: Convert Music
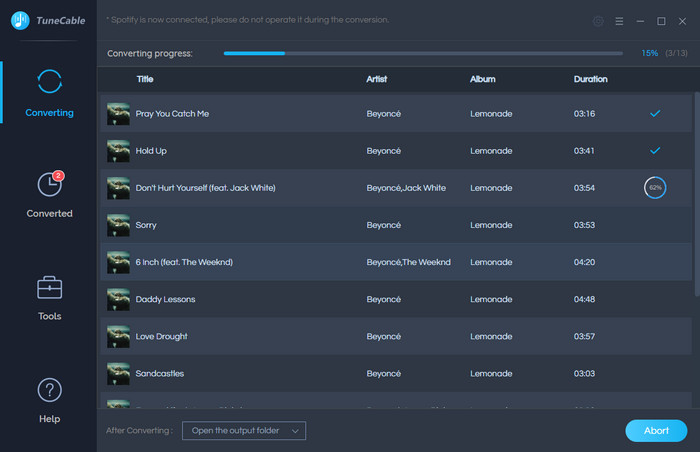
Once you have set preferences, you are good to convert your music file. Directly click on the "Convert" button to start the conversion. After the conversion process is complete, click "Converted" button to find your converted Spotify music file.
Step 5: Move to SD Card
When the file has been converted successfully, you can easily copy-paste or transfer the music files from your computer to an external SD card. It will enable you to create more space on your device. This the best trick to copy Spotify music to SD card.
Whether you want to transfer or save Apple music to SD card, you need to convert it. The tool that you will need for this method is an Apple Music converter. And, to select a perfect Apple Music converter, we are introducing you with TuneCable Apple Music converter. It's the best Apple Music converter you will find in the market. This particular music converter not only converts your Apple music into different formats but also enables you to enjoy lossless audio.
Furthermore, the TuneCable Apple Music converter is one of those finest apps that offer friendly user interference. So, whether you're an amateur or expert, this converter will allow you to convert your Apple Music quite easily. The fantastic thing is that this Apple Music converter is compatible with both Mac and Windows. Hence, the TuneCable Apple Music converter is the app to trust to convert your Apple Music with ease and fineness.
Features:
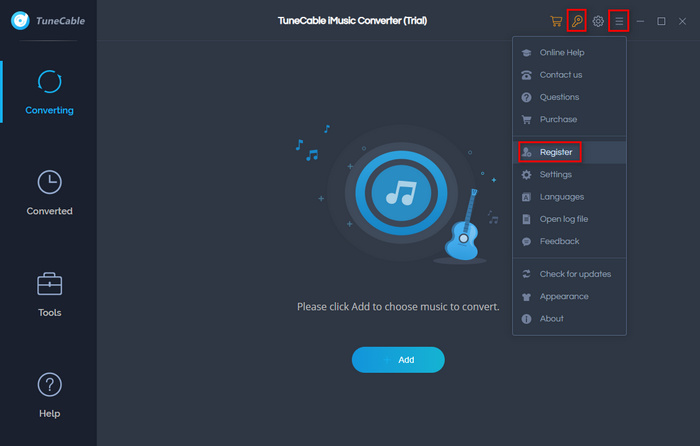
Step 1: Launch and Register the Converter
The first thing that the user needs to do after downloading and installing the TuneCable Music Converter is, launching it on your computer and register by entering your Email and code, that you got while subscribing to the program. Ensure to do it with utter care.
Step 2: Run Apple Music Converter
Now, when you have launched and registered to the Apple Music Converter, it's time to run it for file conversion. Once opening the converter, you will witness a simple interface to convert your music.

Step 3: Add Music Files to Apple Music Converter
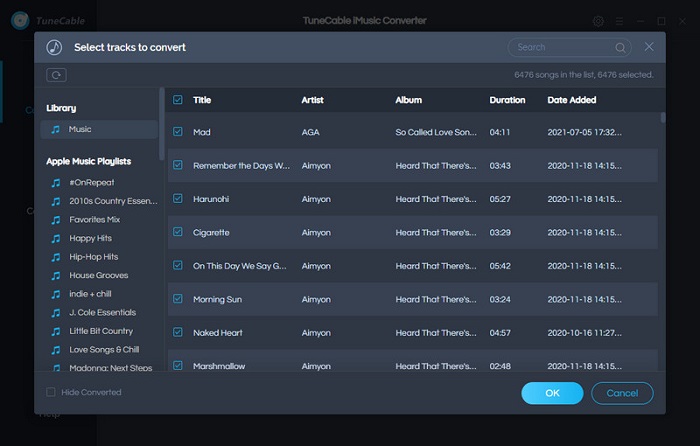
After that, you need to add music files into the converter to initiate the conversion. Click on the "+ Add" button and a pop up window on the screen will land you on iTunes folder, from where you can select Apple Music files, audiobooks, podcasts, and M4P audio as you want.
Step 4: Set Preferences
Now when you are done with adding music files, here comes the essential part of converting music files – the output settings. For this, you simply need to click on the "Settings". Then you can set the output format and output folder of your choice. Here you can select either MP3, WAV, FLAC, AAC, AIFF or ALAC format. Once you've set preferences, move again to the main screen.

Step 5: Start Conversion
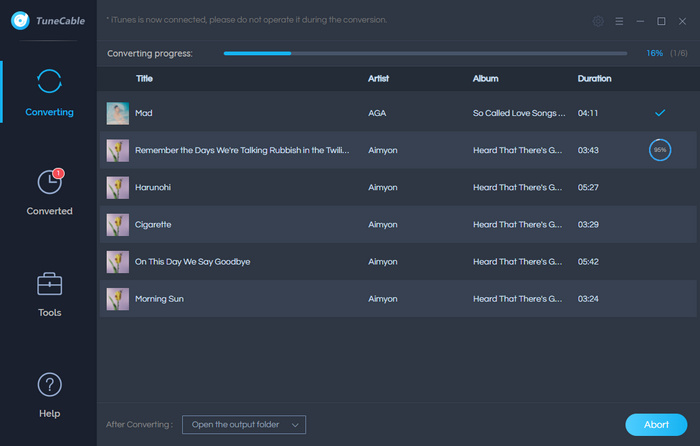
Finally, you need to click on the "Convert" button to start the conversion process, and your files will be converted at a 10x faster rate. If you don't want to convert a certain music file, just click on the "Remove" button to remove that song. After completing the conversion, you can go to the "Converted" option to view all your downloaded Apple Music files.
Step 6: Convert Files to SD Card
When you are done with converting the Apple Music files, you need to transfer the music file to your SD card. It will enable you to keep a backup of the Apple music playlists, and at the same time, it will create extra space on your device. It's the best way to save Apple Music to an SD card.
For those who have struggled to convert their Amazon Music, the TuneCable Amazon Music Converter is your solution. It is one of the most useful Amazon music converters that any music lover will find on the internet. It comes with a user-friendly interface, high-end safety, and easy music conversion.
Along with all this, the TuneCable Amazon Music Converter allows you to transfer, convert and store your Amazon Music with no issues faced. And the thing to love about this Music converter is that it's finely compatible with Windows 7, 8, 10 and 11. So you need not to worry about music conversion on any of the recent versions of Windows and macOS.
Moreover, the TuneCable Amazon music converter can convert your music files into MP3/AAC/WAV/FLAC/AIFF/ALAC. Also, it keeps all the ID3 tags so you can easily find songs and artists. Lastly, the best thing that helps this music converter stand firm is that it ensures original audio quality even after conversion to different categories.
Features:
Step 1: Run and Register the Tool on Your Window PC
First of all, you will have to run the TuneCable Amazon Music Converter on your PC and log in to Amazon Prime Music and Amazon Unlimited. After that, you need to click on the "Key" popping up at the top of the screen to register your account. Then, enter your email and code that you received after subscribing to this tool.

Step 2: Customize Output Settings and Preferences
If the tool has been launched perfectly on your PC, it's time to set up your output settings and preferences. For this, you will have to click on the black-colored circular button at the top right corner.
After that, you will be allowed to select from MP3/AAC/WAV/FLAC/AIFF/ALAC, and the quality will vary from 320kbps, 256kbps, 192kbps and 128kbps.

Step 3: Add Tracks and Albums
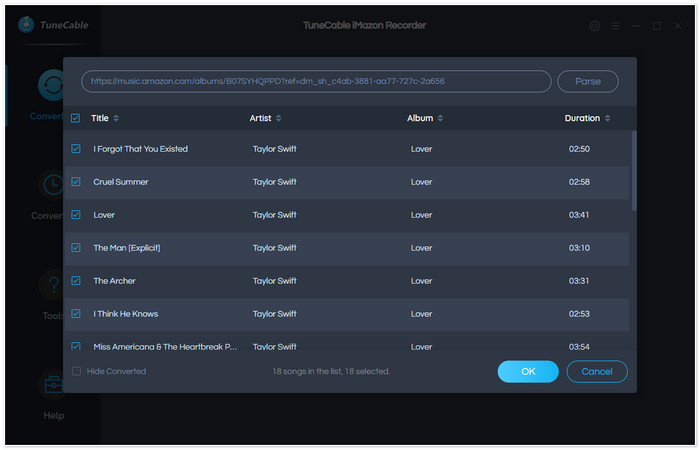
Once you have finely selected your conversion preferences, it's time to add tracks and albums to the tool. For this, click on the "Add" button on the bottom corner and add the tracks you want to convert. Then you can simply select the songs that you want to convert.
Step 4: Start Converting
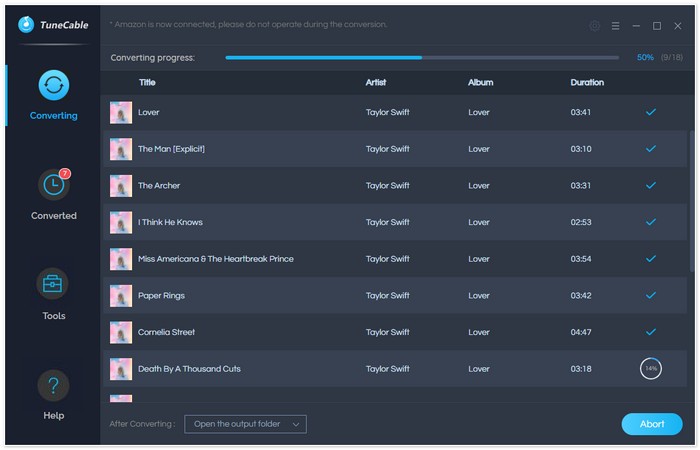
If everything has been done as per requirements, it is time for converting your favorite music. Tap on the "Convert" button to efficiently convert the files.
Step 5: Move the Files to SD Card
Now, when you've been through all of the required steps and the desired music file has been converted well. It's time to transfer it to an SD card. It will allow you to keep a backup of your converted music and also enhance your device space.
Conclusion: Converting your music files and transferring them to your SD can be a hard nut to crack. However, with this article at hand, things are going to be pretty easy for you. It will guide you to convert and save Spotify/Apple/Amazon Music to SD card.
Here you will be enriched with compact yet informative knowledge about converting, saving, and transferring your Amazon, Apple, and Spotify music files without any hassle. So, avoid spending time on useless tools and software and try betting on tools as mentioned above to help you backup Spotify, Apple or Amazon Music perfectly.
 What's next? Download and get Streaming Music Downloaders now!